

👁️ Interactive Eye Animation with Skills Hover Effect using HTML, CSS, JavaScript & GSAP
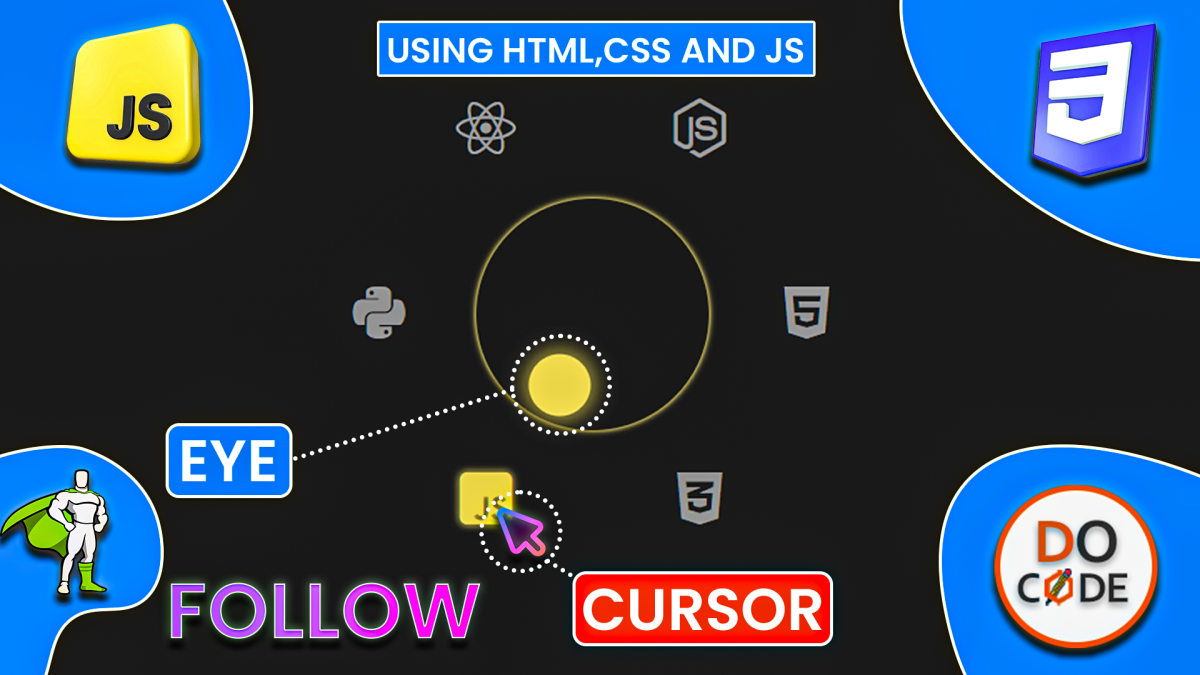
In this tutorial, we’ll build a creative and animated “eye component” that follows your cursor around the screen. As a bonus, we’ll place technology skill icons around the eye in a circular layout, and change the pupil color when a skill is hovered!
Perfect for portfolios or creative websites, this animation uses:
-
HTML & CSS for layout and design
-
JavaScript for interactivity
-
GSAP (GreenSock) for smooth animations
-
Font Awesome for skill icons
✅ Live Demo
HTML Structure
<div class="mainContainer">
        <div class="eye">
            <div class="pupil"></div>

            <!-- skills -->
            <div class="skills">
                <span class="skill" data-color="#e34c26"><i class="fa-brands fa-html5"></i></span>
                <span class="skill" data-color="#264de4"><i class="fa-brands fa-css3-alt"></i></span>
                <span class="skill" data-color="#f0db4f"> <i class="fa-brands fa-square-js"></i></span>
                <span class="skill" data-color="#F7BB07"> <i class="fa-brands fa-python"></i></span>
                <span class="skill" data-color="#5ED4F3"> <i class="fa-brands fa-react"></i></span>
                <span class="skill" data-color="#6FA560"> <i class="fa-brands fa-node-js"></i></span>
            </div>
        </div>
</div>-
.eyeis the outer eye shape -
.pupilis the movable part that will follow the cursor -
.skillsis a container for technology icons -
Each
.skillspan includes a Font Awesome icon and a customdata-color
🎨 Styling the Eye and Skills
We use absolute positioning for the pupil and icons to center them and move freely inside the eye. The clamp() function ensures responsiveness across devices.
.mainContainer {
            display: flex;
            justify-content: center;
            align-items: center;
            padding: 1rem;
        }

        .mainContainer .eye {
            width: clamp(150px, 8vw, 300px);
            aspect-ratio: 1;
            border-radius: 50%;
            box-shadow: 0px 0px 5px #ffffff3e;
            position: relative;
            isolation: isolate;
        }

        .mainContainer .eye .pupil {
            width: 40px;
            aspect-ratio: 1;
            background-color: #c9c9c9;
            box-shadow: 0px 0px 4px #c9c9c9;
            border-radius: 50%;
            position: absolute;
            top: 50%;
            left: 50%;
            transform: translate(-50%, -50%);
        }

        /* css for skills */
        .mainContainer .eye .skills {
            width: clamp(300px, 22vw, 500px);
            aspect-ratio: 1;
            position: absolute;
            top: 50%;
            left: 50%;
            transform: translate(-50%, -50%);
            z-index: -1;
            /* background-color: red; */
        }

        .mainContainer .eye .skills .skill {
            position: absolute;
            transform: translate(-50%, -50%);
            font-size: clamp(2rem, 2.5vw, 3.2rem);
            text-align: center;
            font-weight: bold;
            text-transform: uppercase;
            white-space: nowrap;
            cursor: pointer;
            color: rgba(255, 255, 255, 0.419);
            padding: 2px 6px;
            border-radius: 4px;
        }

        /* we will set this --skill-color variable using js */
        .mainContainer .eye .skills .skill:hover {
            color: var(--skill-color);
            text-shadow: 0px 0px 5px var(--skill-color);
        }
🧠 JavaScript Logic Explained
🔸 1. Arrange Skills in a Circle
We evenly space the skills around the .skills container using cosine and sine math:
const skillsContainer = document.querySelector('.skills');
        const skills = skillsContainer.querySelectorAll(".skill");
        const total = skills.length;
        //get container radius based on size
        const rect = skillsContainer.getBoundingClientRect();
        const radius = rect.width/2 - 30; // 30 is used as offset to keep skills inside the div

        //arrange skills around the skills container
        skills.forEach((skill,i)=>{
            //divide circle into equal slices
            const angleInRadians = (i/total) * Math.PI *2;

            //get X and Y using circle formula
            const x = Math.cos(angleInRadians) * radius;
            const y = Math.sin(angleInRadians) * radius;

            //position skill element
            skill.style.left = `calc(50% + ${x}px)`;
            skill.style.top = `calc(50% + ${y}px)`;
        })
Then place each skill at left: 50% + x and top: 50% + y.
🔸 2. Make the Pupil Follow the Cursor
// move pupil along with the mouse
        document.addEventListener('mousemove', (e) => {
            // get the eye's position and size
            const eyeBoxRect = eye.getBoundingClientRect();

            //find the center of the eye
            const centerX = eyeBoxRect.left + eyeBoxRect.width / 2;
            const centerY = eyeBoxRect.top + eyeBoxRect.height / 2;

            //find how far mouse is from the center
            const moveX = e.clientX - centerX;
            const moveY = e.clientY - centerY;

            //to limit the movement of the pupil we need to calculate some things

            //find distance from cursor to the center of the eye
            const distance = Math.hypot(moveX, moveY);
            // console.log(distance) // is return the distance from cursor(x,y) to center of the eye in a straight line

            //find how far the pupil is allowed to move
            const maxMove = (eyeBoxRect.width / 2) - (pupil.offsetWidth / 2) - 5;
            // console.log(maxMove); // it gives us the maximum allowed movement for the pupil

            //scal factor (from 0 to 1)
            const scale = Math.min(1, maxMove / distance || 0);
            //if the mouse is far away, scale becomes 1 (pupil moves to max limit)
            //if mouse is close , scale becomes less than 1 or zero (pupil moves less)

            // apply scaled X and Y
            const finalX = moveX * scale;
            const finalY = moveY * scale;

            // animate pupil
            gsap.to(pupil, {
                x: finalX,
                y: finalY,
                duration: 0.2,
                ease: "power2.out"
            })
        })
We calculate how far the cursor is from the center of the eye:
// get the eye's position and size
            const eyeBoxRect = eye.getBoundingClientRect();

            //find the center of the eye
            const centerX = eyeBoxRect.left + eyeBoxRect.width / 2;
            const centerY = eyeBoxRect.top + eyeBoxRect.height / 2;

            //find how far mouse is from the center
            const moveX = e.clientX - centerX;
            const moveY = e.clientY - centerY;

           //find distance from cursor to the center of the eye
            const distance = Math.hypot(moveX, moveY);
We also calculate the maximum distance the pupil is allowed to move:
//find how far the pupil is allowed to move
      const maxMove = (eyeBoxRect.width / 2) - (pupil.offsetWidth / 2) - 5;
      // console.log(maxMove); // it gives us the maximum allowed movement for the pupil
Then we scale the movement using the ratio of allowed movement to actual distance, to prevent the pupil from going outside the eye:
//scal factor (from 0 to 1)
            const scale = Math.min(1, maxMove / distance || 0);
            //if the mouse is far away, scale becomes 1 (pupil moves to max limit)
            //if mouse is close , scale becomes less than 1 or zero (pupil moves less)
Finally, animate it smoothly with GSAP:
// apply scaled X and Y
            const finalX = moveX * scale;
            const finalY = moveY * scale;

            // animate pupil
            gsap.to(pupil, {
                x: finalX,
                y: finalY,
                duration: 0.2,
                ease: "power2.out"
            })
🔸 3. Hover Effect on Skills
When a user hovers on a skill icon, we:
Grab the color code from the icon and Animate the pupil and eye's background and shadow to match that color
//change pupil color on hover of skills
        skills.forEach((skill)=>{

            //on mouse enter
            skill.addEventListener('mouseenter',()=>{
                const color = skill.getAttribute('data-color');
                skill.style.setProperty('--skill-color',color);
                //for pupil
                gsap.to(pupil,{
                    backgroundColor:color,
                    boxShadow:`0px 0px 15px ${color}`,
                    duration:0.3
                });
                //for eye
                gsap.to(eye,{
                    boxShadow:`0px 0px 15px ${color}`,
                    duration:0.3
                });

            })

            // set color to default one on mouseleave
            skill.addEventListener('mouseleave',()=>{
                gsap.to(pupil,{
                     backgroundColor:"#c9c9c9",
                    boxShadow:`0px 0px 15px #c9c9c9`,
                    duration:0.3
                })
                 gsap.to(eye,{
                    boxShadow:`0px 0px 15px #ffffff3e`,
                    duration:0.3
                });
            })
        })
When they leave, we reset the colors back.


